sidfaber
on 24 July 2020
Please note that this blog post has old information that may no longer be correct. We invite you to read the content as a starting point but please search for more updated information in the ROS documentation.

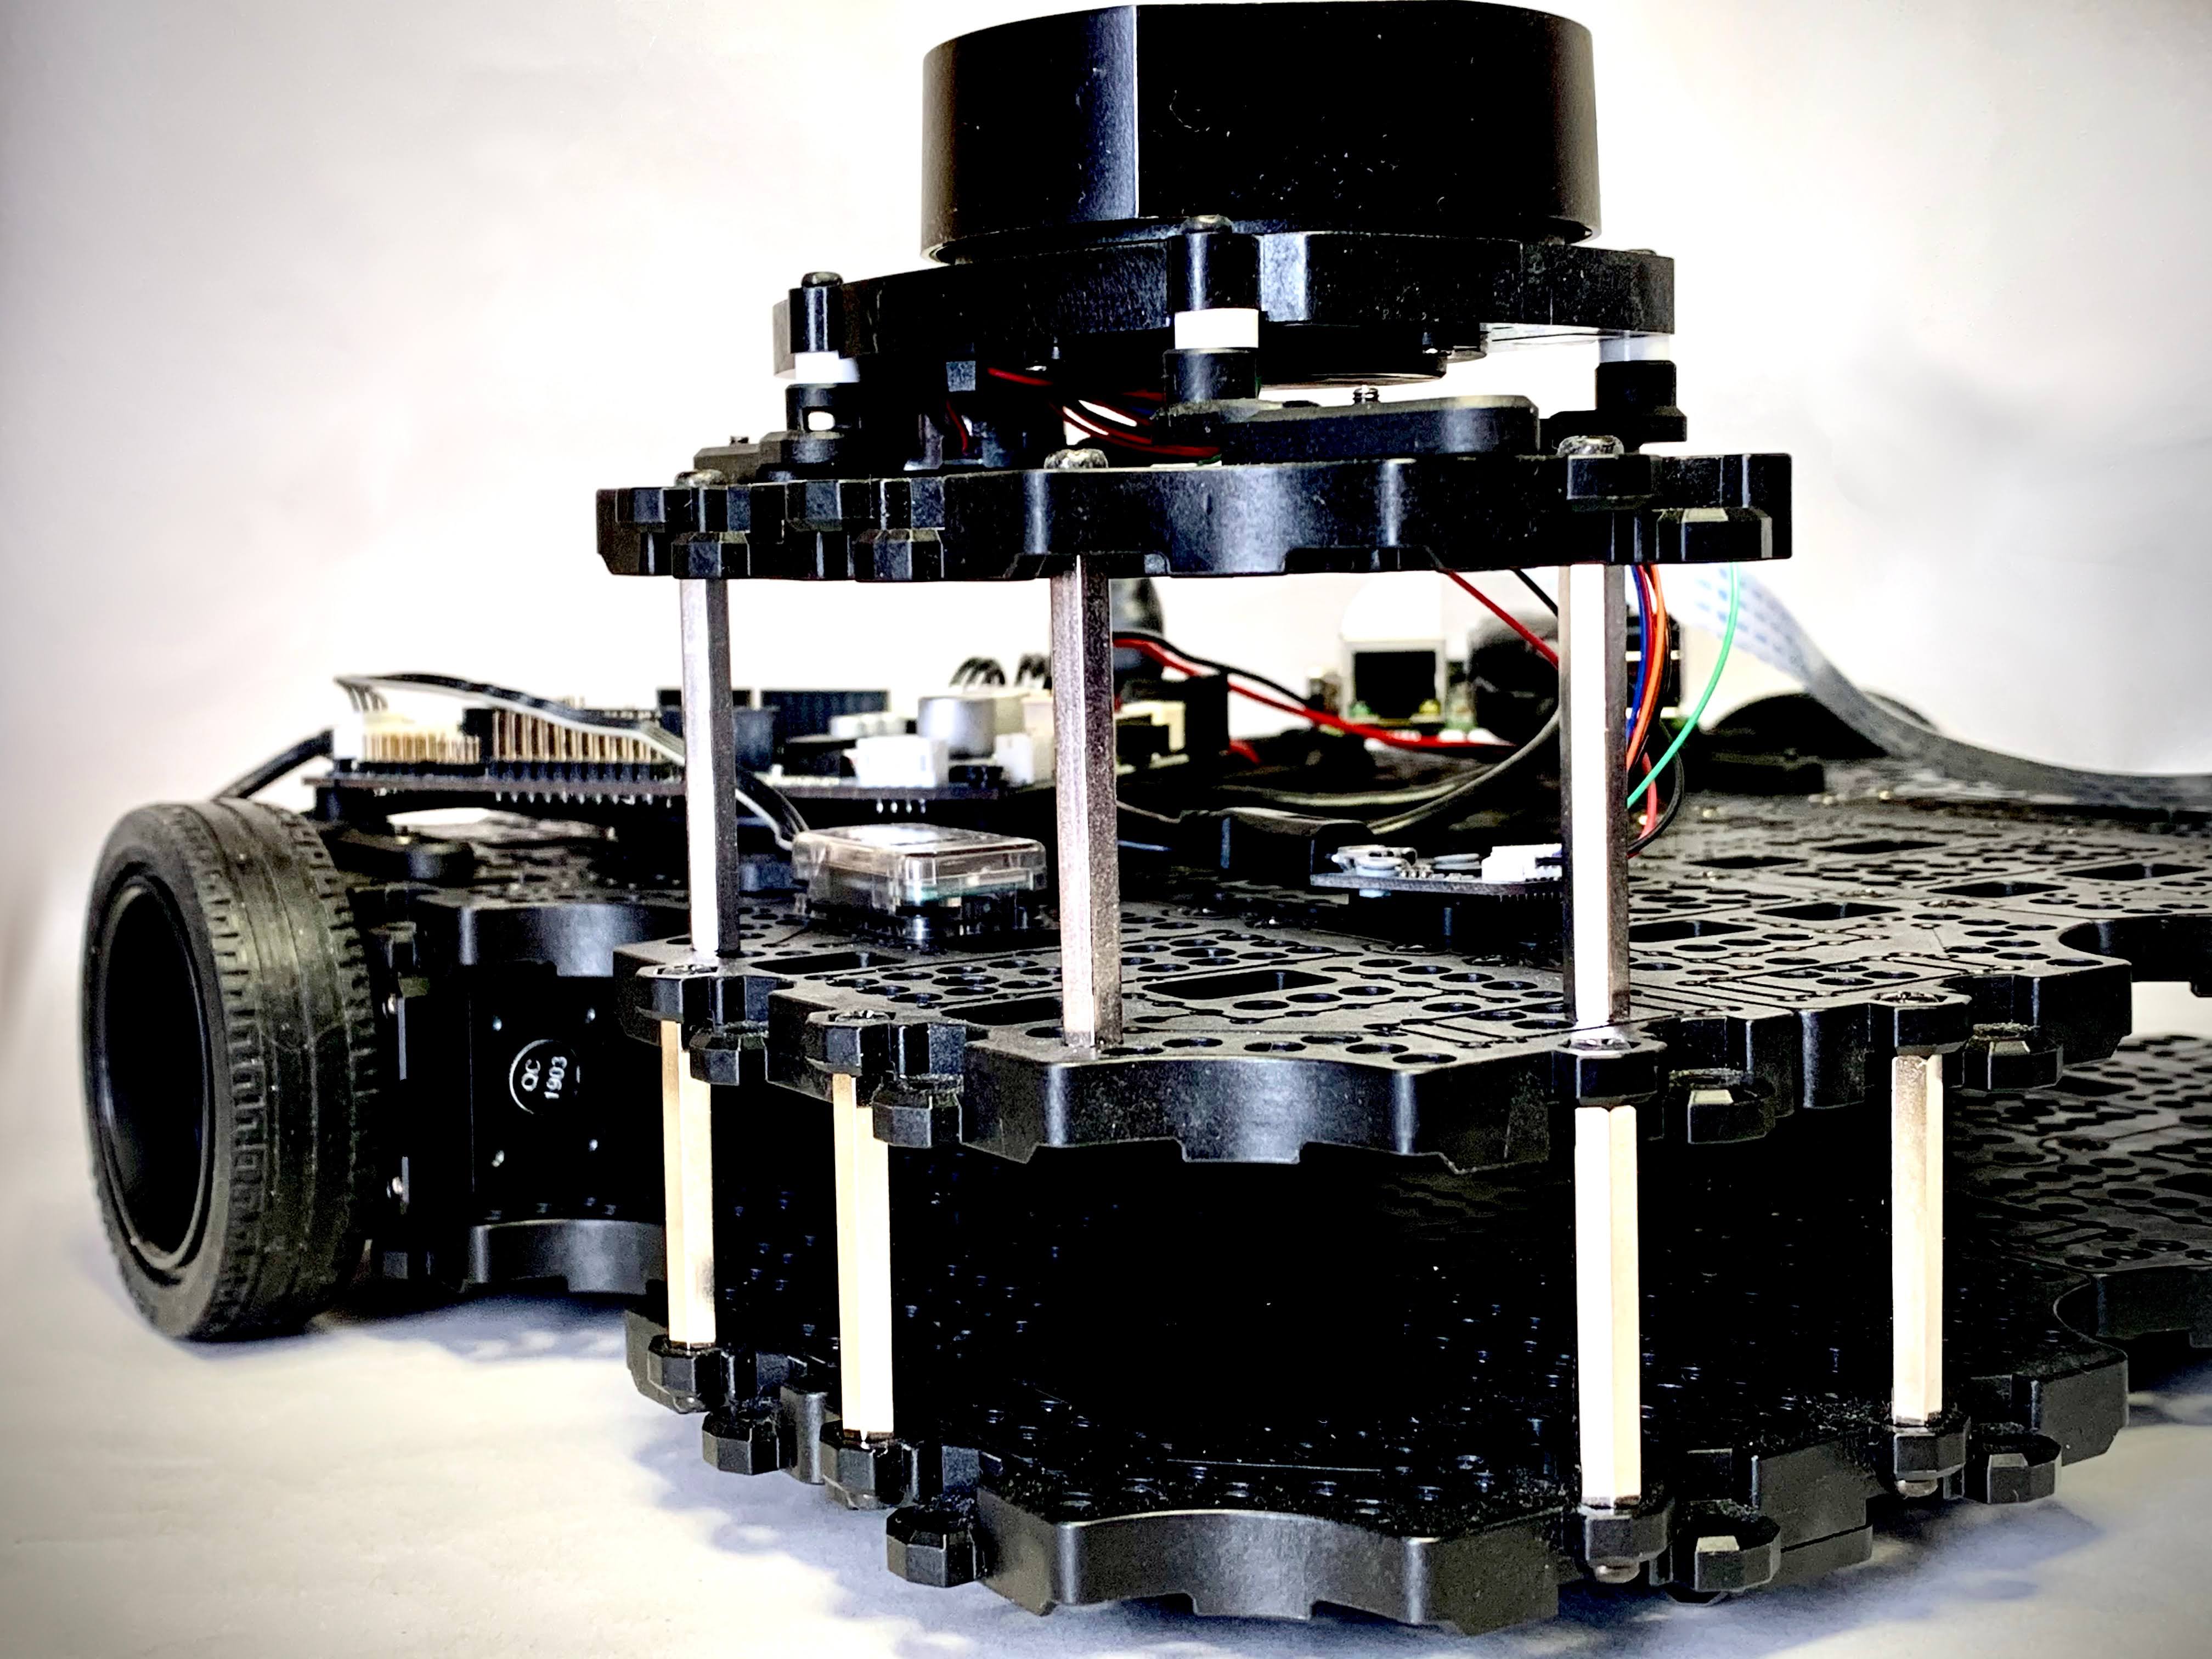
Interested in getting started in robotics? There’s no need to purchase expensive hardware before you try some things out: simulate a TurtleBot3 instead! The simulator is complete with LIDAR, a camera, a gyro and many other sensors and actuators.
You can also see this installation in action at the Ubuntu Robotics YouTube channel.
Software used for the simulation includes the robot operating system (ROS), a simulation framework (Gazebo) and the robot software (TurtleBot).
- The Robot Operating System (ROS) provides the fundamental framework for interacting with hardware and overall control of the robot.
- The Gazebo simulator emulates robot hardware in software to provide input to ROS.
- The TurtleBot 3 WafflePi from Robotis software includes ROS code to run the robot and configuration files for Gazebo.
We intend to install on Foxy (the latest LTS ROS release), which drives the version requirements for the rest of the installation: Ubuntu 20.04 Focal, Gazebo 11, and the ROS 2 installation of TurtleBot3.
Install ROS
This simulator requires a standard installation of ROS Foxy. While ROS can be installed directly on a Linux workstation, it can also be installed in a container or a virtual machine dedicated to the simulator. If you followed instructions to install ROS in an LXD Container, use the following commands to launch a container:
lxc launch -p ros ubuntu:20.04 turtlebot
lxc ubuntu turtlebot
Install ROS Foxy Desktop and set up the ROS environment in your Ubuntu container.
sudo apt install ros-foxy-desktop
source /opt/ros/foxy/setup.bash
echo "source /opt/ros/foxy/setup.bash" >> ~/.bashrc
Install the colon build tool as well. This allows us to build the TurtleBot software on your workstation.
sudo apt install python3-colcon-common-extensions
Install Gazebo
Robot simulation is challenging. All the necessary actuators and sensors must provide readings to behave like the real world. Generic hardware must be tailored for each specific robot. Thankfully Robotis provides all the necessary configuration data to simulate the TurtleBot hardware. We’ll follow the TurtleBot3 ROS 2 PC Setup instructions.
As of this writing the Robotis instructions still follow ROS Dashing. The installation for Foxy is straight forward, simply install Gazebo 11 and the associated ROS meta-package:
sudo apt install gazebo11 ros-foxy-gazebo-ros-pkgs
You may also choose to install additional software to explore some of the more advanced ROS features. To enable the robot to map its local environment, install cartographer for simultaneous localization and mapping (SLAM). To experiment with robot movement in a real world, install the Navigation Stack for ROS 2:
sudo apt install ros-foxy-cartographer
sudo apt install ros-foxy-cartographer-ros
sudo apt install ros-foxy-navigation2
sudo apt install ros-foxy-nav2-bringup
Install TurtleBot3
Next we will install the TurtleBot by downloading source files, compiling, and installing the software. Use the vcstool utility and use it to download software from the necessary software repositories.
sudo apt install python3-vcstool
mkdir -p ~/turtlebot3_ws/src
cd ~/turtlebot3_ws
wget https://raw.githubusercontent.com/ROBOTIS-GIT/turtlebot3/ros2/turtlebot3.repos
vcs import src < turtlebot3.repos
Now that the source code has been downloaded from the repository, compile using the standard syntax for the colcon build tool.
colcon build --symlink-install
As always, source the ROS setup file to add the newly installed executables to the environment.
echo 'source ~/turtlebot3_ws/install/setup.bash' >> ~/.bashrc
Although the software has been installed, two environment variables must also be configured. Set the GAZEBO_MODEL_PATH variable to let Gazebo find the TurtleBot model definition files. Set the TURTLEBOT3_MODEL to waffle_pi to simulate the TurtleBot3 Waffle Pi. After adding these lines to your .bashrc file, source the file.
echo 'export GAZEBO_MODEL_PATH=$GAZEBO_MODEL_PATH:~/turtlebot3_ws/src/turtlebot3/turtlebot3_simulations/turtlebot3_gazebo/models' >> ~/.bashrc
echo 'export TURTLEBOT3_MODEL=waffle_pi' >> ~/.bashrc
source ~/.bashrc
Launch the simulator
All the necessary software has been installed and configured, so we’re ready to launch the simulator. Following the TurtleBot 3 simulation instructions for Gazebo, issue the launch command.
ros2 launch turtlebot3_gazebo empty_world.launch.py
The first launch argument–the package name–runs the gazebo simulation package. The second argument specifies the launch file to use from the package.
Explore the simulation you just launched! Change the simulation by launching with different worlds such as turtlebot3_house.launch.py or turtlebot3_world.launch.py. Use ROS commands from any computer on the same network to explore your simulator:
ros2 topic list
ros2 service list
ros2 topic pub /cmd_vel geometry_msgs/Twist '{linear: {x: 1.0}}' -1
ros2 topic pub /cmd_vel geometry_msgs/Twist '{linear: {x: 0.0}}' -1
ros2 run turtlebot3_teleop teleop_keyboard
If you try to control a simulated TurtleBot3 from another machine and it doesn’t seem to be working, check the ROS_DOMAIN_ID environment variable. By default ROS uses the domain 0, but the TurtleBot instructions typically configure it for 30. Consider adding setting the domain to 30 for all of your hosts connecting to the TurtleBot:
echo 'export ROS_DOMAIN_ID=30' >> ~/.bashrc
source ~/.bashrc


